
You’ve got a glass in front of you and no idea what to say about it. Here’s how to taste wine: look at it, smell it, sip it, then judge what you found using a simple, repeatable order.
This guide sits inside the wider wine education section of this independent site, which is not connected to any wine body or school named below.
| Item | Value |
|---|---|
| Sections in the WSET Level 2 tasting grid | 4 sections |
| Appearance observations | 3 (clarity, intensity, colour) |
| Nose lines | 3 (condition, intensity, aroma characteristics) |
| Palate structure characteristics | 5 (sweetness, acidity, tannin, alcohol, body) |
| Quality criteria | 4 (balance, length, intensity, complexity) |
These figures come from the WSET Level 2 Systematic Approach to Tasting sheet and a WSET Online Classroom video. The sheet is the May 2023 issue, and grids get revised, so check the sources before you rely on the figures.
Why a fixed order makes tasting easier
Most people stall because they try to name everything at once. A routine fixes that: you take the same steps in the same order every time, and each step asks a small, answerable question.
The Wine & Spirit Education Trust (WSET) publishes a Systematic Approach to Tasting, or SAT, which its video says is designed to guide you through your Level 2 tastings. It is a handy model even if you never take a course. The four steps below follow its layout.
- Look at the wine: clarity, intensity and colour.
- Smell it: condition, intensity and aroma characteristics.
- Sip it: sweetness, acidity, tannin, alcohol, body, flavour and finish.
- Think: decide how good the wine is and why.
In the SAT, the first three sections each analyse a different aspect of the wine, while the fourth draws a conclusion about quality. Some sections have extra lines that break the analysis down further.
Look: what the glass shows you
Appearance has three observations. First comes clarity, and the video notes that the majority of wines can be described as clear. The sheet lists “hazy” as a possible fault to question.
Next is intensity, meaning how pale, medium or deep the colour is. Last is the colour itself, which has its own descriptors for white, rosé and red wines.
- White: most are lemon. A noticeable greenness makes them lemon-green, a hint of orange or brown makes them gold, and very noticeable browning gives amber or brown.
- Rosé: pure pink is pink, and a hint of orange makes it pink-orange. Orange is kept for the rare cases where it dominates.
- Red: most are ruby. A blue or purple hint makes them purple, an orange or brown hint makes them garnet, and more brown than red makes them tawny.
Brown is for red wines where no redness remains. Colour can hint at age and style, but treat it as a clue rather than a verdict.
Smell: reading the nose
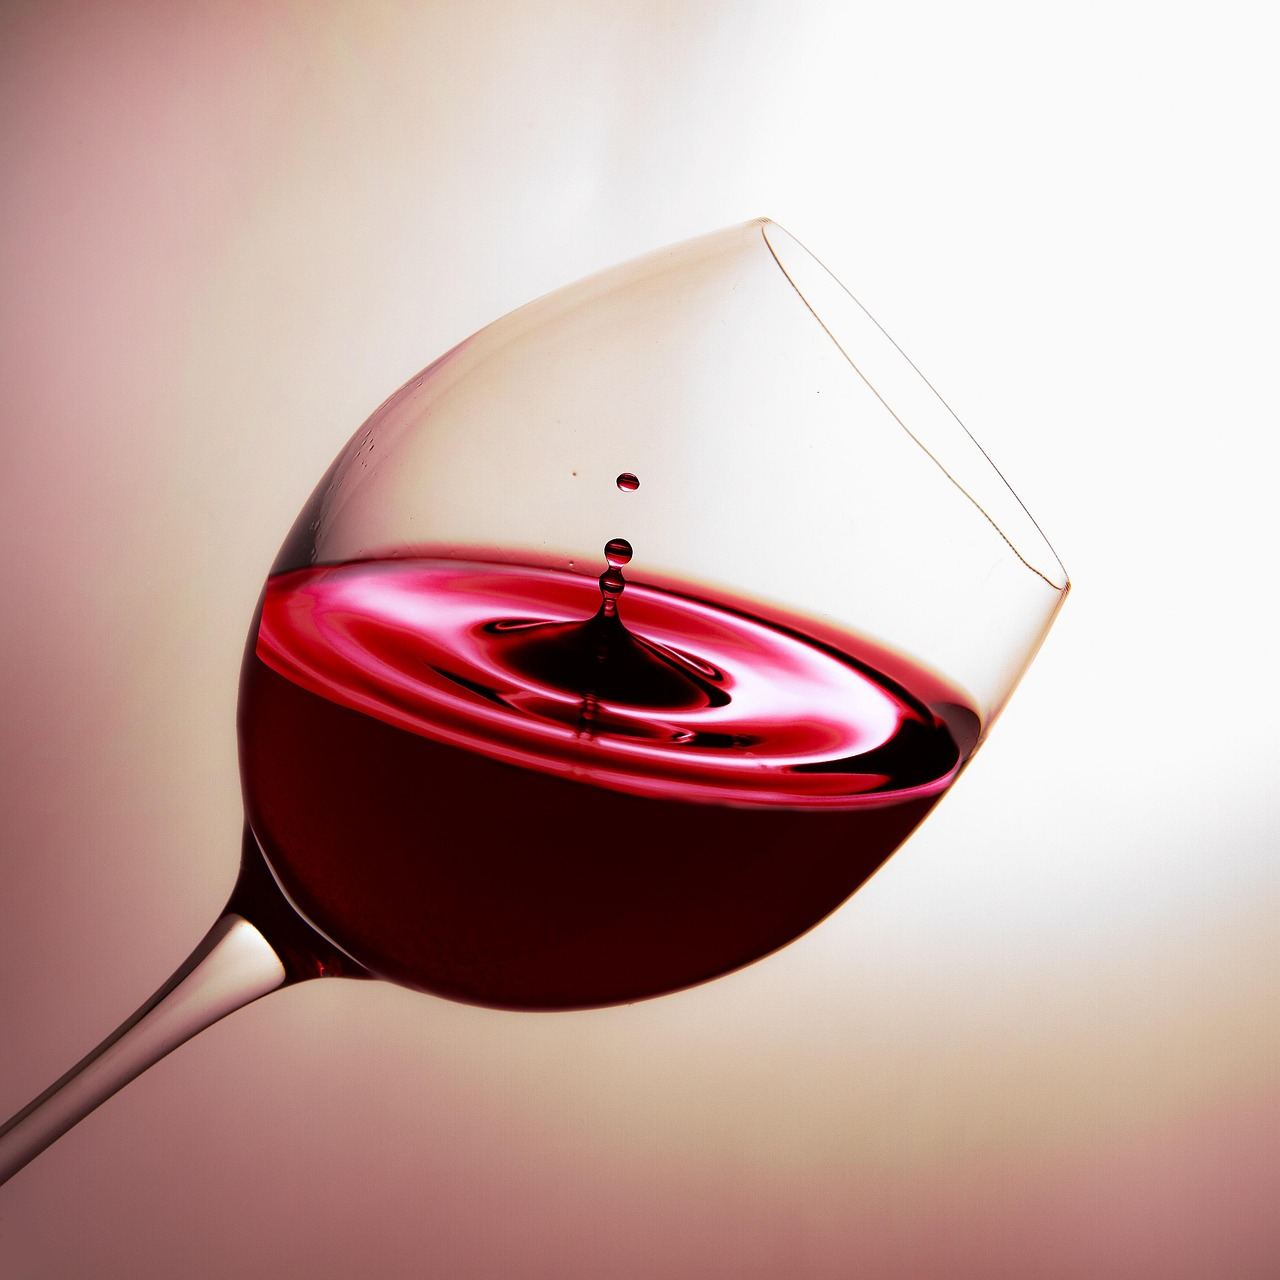
“The nose” means everything you can detect when sniffing the wine. The SAT splits it into three lines: condition, intensity and aroma characteristics. Condition is a simple clean or unclean call, with unclean marked as possibly faulty.
Intensity runs from light through medium to pronounced. The Level 4 version of the sheet adds finer steps, written medium(-) and medium(+), for people who want more detail.
For aroma characteristics, the WSET groups what you smell into three families. Grape variety, grape ripeness and maturation method can all affect which aromas are present.
- Primary aromas come from the grape and alcoholic fermentation. Examples include citrus fruit such as grapefruit, lemon, lime and orange, and black fruit such as blackcurrant, blackberry and black cherry.
- Secondary aromas come from post-fermentation winemaking. Malolactic conversion can bring butter, cheese and cream, and oak can bring vanilla, cloves, coconut, cedar, smoke, chocolate and coffee.
- Tertiary aromas come from maturation. In red wine the lexicon lists dried fruit, leather, earth, mushroom, meat, tobacco, wet leaves, forest floor and caramel.
You do not need to hit every descriptor. Pick the few that stand out, and use the lexicon as a prompt when your mind goes blank.
Sip: structure, flavour and finish
The palate section is where you take a sip. Its lines break down the structure of the wine: sweetness, acidity, tannin, alcohol and body.
For each one, you pick a single option from a three- or four-point scale. Sweetness runs dry, off-dry, medium, sweet. Acidity and tannin run low, medium, high, and body runs light, medium, full.
After structure, the sheet asks for flavour intensity, which is described much like aroma intensity. Then come flavour characteristics, which may be similar to the aromas you found on the nose. The same primary, secondary and tertiary families apply.
The last palate line is the finish: how long the desirable sensations and flavours last on your tongue after you have swallowed or spat the wine out. The scale is short, medium or long. Count only the pleasant sensations, not a harsh aftertaste.
Think: judging quality
The final section turns your notes into a view. The video suggests treating it as a guide to help you discuss quality rather than a set of strict rules, so it is a way to explain your opinion, not a test you can fail.
Quality is assessed on four criteria: balance, length (or finish), intensity and complexity. The more of these a wine shows positively against, the higher it scores.
- A poor wine does not show positively against any of them.
- An acceptable wine shows positively against just one.
- A good wine shows positively against two.
- A very good wine shows positively against three.
- An outstanding wine shows positively against all four.
The Level 2 sheet’s scale also starts with “faulty”, so the full range is faulty, poor, acceptable, good, very good and outstanding. Back up your rating with the evidence from the earlier steps, such as a long finish or good balance between acidity and tannin.
Putting it into a tasting note
A note is just your answers in order. Writing them down each time helps you calibrate your observations and leaves a record you can compare later. Here is a short template.
- Write the clarity, intensity and colour.
- Write the condition, intensity and two or three aromas.
- Write the five structure calls, then flavour intensity, a few flavours and the finish.
- Finish with a quality rating and one sentence that explains it.
The Level 4 sheet says its lexicon is a prompt and a guide you do not need to memorise, and examiners accept other descriptors so long as they are accurate, per the WSET Level 4 sheet, issue 1.2 of 2023. The same holds for home practice: use your own words when they fit.
If tasting is heading toward an exam, how to study for a wine exam is a sensible next read. If a course is on your mind, wset level 1 what to expect is a useful place to look.
Frequently asked questions
Do I have to memorise the aroma lexicon?
Show answer
No. The WSET Level 4 sheet describes its lexicon as a prompt and a guide you do not need to memorise. You can use other descriptors if they are accurate.
Should I swallow the wine or spit it out?
Show answer
Either one. The video counts both when you judge the finish, so you can choose whichever suits the occasion.
How do I tell primary, secondary and tertiary aromas apart?
Show answer
Ask where the smell came from. Fruit and flower notes point to the grape, oak or butter point to winemaking after fermentation, and leather or mushroom point to ageing.
Is there a wrong answer when I rate quality?
Show answer
The video describes the quality section as a guide to help you discuss quality rather than a set of strict rules. What matters is that your rating matches the evidence in your notes.